Understanding the Basics of Drone Photography Editing
What is Drone Photography Editing?
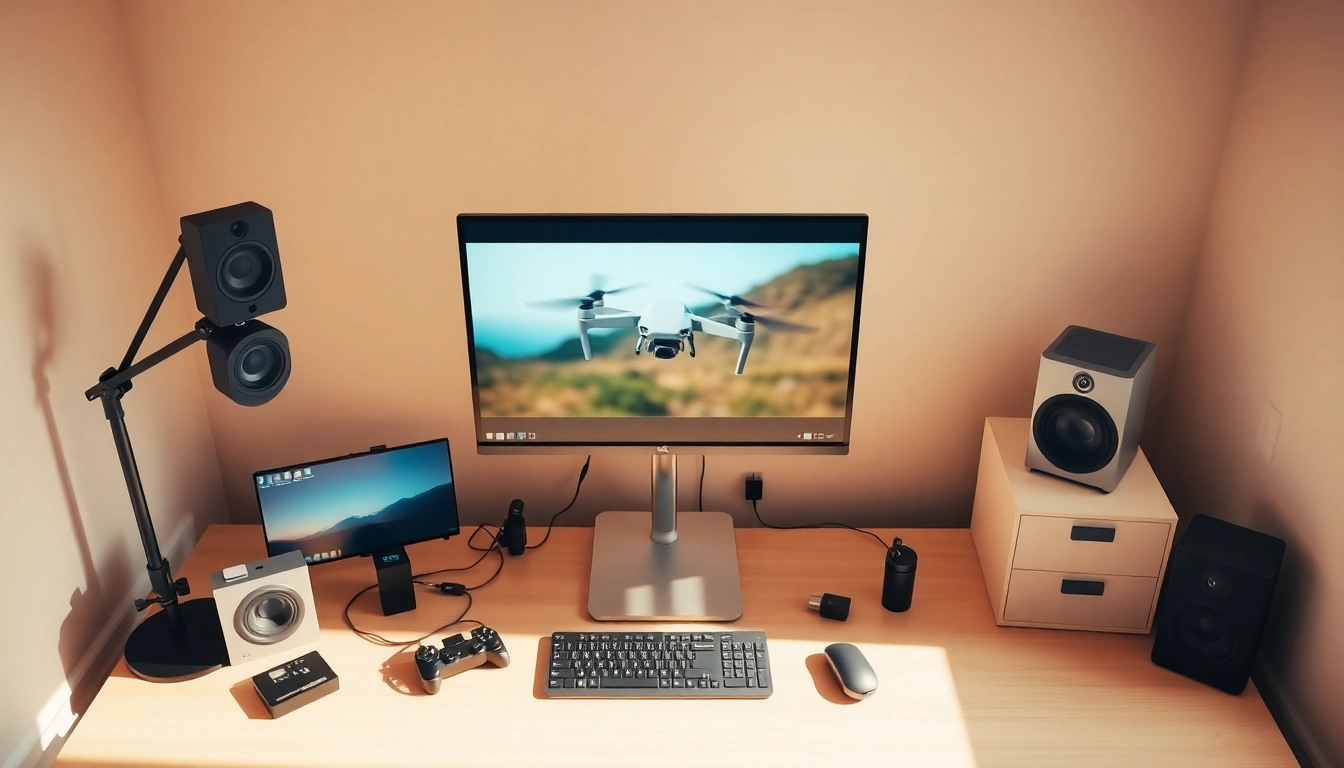
Drone photography editing is the art and science of enhancing images captured by drones. Given the unique perspectives and expansive aerial views that drones provide, editing plays a crucial role in transforming raw footage into stunning visual masterpieces. Typically, drone footage necessitates adjustments to exposure, contrast, saturation, and sharpness while also considering aerial-specific challenges such as lens distortion and uneven lighting. The end goal is not just to correct imperfections but also to create a compelling narrative and powerful imagery that resonates with viewers. For a more comprehensive guide on this subject, you can explore drone photography editing resources that dive deeper into effective techniques and tools.
Essential Tools and Software for Editing
Editing drone photography requires the right tools and software to achieve professional-quality results. Here are some of the essential tools you should consider:
- Adobe Lightroom: A powerful tool for photographers, Lightroom is excellent for batch processing and organizing images, making it a popular choice for drone image editing.
- Adobe Photoshop: For more complex edits including layering and manipulation, Photoshop is indispensable. It’s perfect for detailed adjustments and refining images further.
- Final Cut Pro X: If working with drone videos, this software offers advanced video editing capabilities, allowing for smooth transitions and effects.
- DaVinci Resolve: Known for its color grading features, DaVinci Resolve is ideal for both video and photo editing, especially when you want to enhance the emotional impact of your aerial shots.
Additionally, many drones come with proprietary software applications designed specifically for post-processing aerial shots. Familiarizing yourself with these programs can provide a significant advantage.
Common Editing Techniques for Beginners
When starting out in drone photography editing, it’s important to master some fundamental techniques:
- Basic Cropping and Framing: Cropping can drastically change the composition of your images. Adjust the framing to emphasize subject matter and remove distractions around the edges.
- Adjusting Exposure and Contrast: Drone images are often taken in bright conditions that can wash out colors. Use editing software to adjust the exposure, bringing back detail in shadows and highlights.
- Saturation and Color Balance: Enhancing the saturation can make images pop, but it is essential to balance colors realistically to avoid an unnatural appearance.
- Sharpening: Adding sharpness can enhance fine details, which is particularly important in aerial landscape photography.
As you refine these techniques, you’ll begin to develop your style, paving the way for advanced edits in the future.
Advanced Techniques in Drone Photography Editing
Color Grading for Enhanced Aerial Landscapes
Color grading is the process of altering and enhancing the colour of an image. Drone photography often captures expansive landscapes where the interplay of colors can create emotional appeal. Here’s how you can effectively use color grading:
- Understand the Color Wheel: Familiarity with complementary colors can help create dynamic contrasts, enhancing the overall feel of your images.
- Use LUTs (Look-Up Tables): LUTs can provide predefined color grading styles that can give your images a cohesive look. Many photographers create their LUTs, which can be a great way to personalize your work.
- Dynamic Range Adjustments: Fine-tuning shadows, midtones, and highlights can add depth to your images and make the viewer feel more engaged with the scene.
Using Layering and Masking in Edits
Layering and masking techniques are vital for advanced edits, allowing you to isolate and modify specific areas of an image without affecting the entire composition:
- Create Layers for Each Edit: Working with layers enables you to manipulate individual elements of your image. If an edit doesn’t work out, you can easily revert without affecting the rest of your composition.
- Utilize Masks for Precision: Masks allow selective editing, so you can apply adjustments like color correction or sharpening to just one part of an image. This precision is especially useful in landscape photography where you may want to emphasize a foreground subject against a different background.
Incorporating Filters for Dramatic Effects
Filters can dramatically alter how an image feels. Here are some tips for effectively applying filters:
- ND Filters: Neutral Density filters minimize light entering the lens, allowing for longer exposure times and smoother aerial videos.
- Gradient Filters: Gradient filters can help balance exposures between the sky and the land, particularly useful in sunset shots where you want to avoid washed-out skies.
- Creative Filters: Experiment with creative filters (like vignette or sepia) to add a unique flair to your images, but use them sparingly to maintain professionalism.
Optimizing Your Workflow in Drone Photography Editing
Creating Efficient Editing Presets
Presets can be an editor’s best friend, providing a baseline for your creative adjustments. Creating and utilizing presets saves time and ensures consistency across your work:
- Establish Base Presets: Develop standard presets for your commonly taken shots, adjusting settings like exposure, contrast, and color balance based on general conditions.
- Customize for Different Scenes: While starting with a generic preset is helpful, having variations tailored to specific types of landscapes (woods, beach, mountains) can significantly enhance your editing speed and output quality.
Time Management Tips for Editors
Efficient time management is essential when editing drone photography, especially when handling large batches of images or video:
- Set Clear Goals: Before diving into editing, articulate what you want to achieve in each session, whether it’s editing a single image, a series, or an entire video.
- Use a Timeline: Create a timeline to allocate specific blocks of time for various tasks: importing footage, basic edits, detailed work, and exporting.
- Stay Organized: Keeping your files and folders organized can minimize the time spent searching for images, enhancing your overall workflow.
Importing and Organizing Drone Footage
The first step in the editing process is importing and organizing footage, which helps streamline subsequent editing phases:
- Use Dedicated Folders: Once you’ve completed a drone shoot, create a dedicated folder for each session to avoid confusion later.
- Utilize Naming Conventions: Incorporate meaningful names that specify the content and date (e.g., “Sunset_LakeShoot_2023-02-08”) to easily retrieve images when needed.
- Metadata Utilization: Take advantage of metadata capabilities, tagging your images with keywords that can simplify searches in the future.
Showcasing Your Drone Photography Edits
Building a Portfolio That Stands Out
Your portfolio is your visual introduction to potential clients and collaborators. Here are techniques to ensure yours stands out:
- Curate Thoughtfully: Select a variety of your best work that illustrates not only your skills but also your unique style and range.
- Seek Feedback: Before publishing, solicit honest feedback from peers or mentors to identify areas for improvement.
- Highlight Projects: Include narrative descriptions alongside images to provide context, showcasing your thought process, challenges, and how you overcame them.
The Importance of Social Media for Displaying Edits
Social media is a powerful tool for showcasing your drone photography:
- Choose the Right Platforms: While Instagram is often the go-to platform for photographers, consider expanding to Facebook, YouTube, or even TikTok to reach a broader audience.
- Engage with Your Audience: Regularly post new work and actively engage with comments. This builds a community around your brand, encouraging ongoing interaction.
- Utilize Hashtags and Location Tags: Using appropriate hashtags increases the discoverability of your content, helping potential clients find you more easily.
Engaging Your Audience Through Storytelling
Storytelling is a powerful way to connect with your viewers and convey the essence of your work:
- Captions with Meaning: When posting images, add context by sharing stories about the shot, your drone’s journey, or the landscape’s significance.
- Behind-the-Scenes Content: Show the real process behind your drone footage. Sharing behind-the-scenes stories can humanize your brand and foster deeper connections.
- Use Video Content: Consider creating video montages or mini-documentaries showcasing your drone work to engage audiences more dynamically.
Measuring Success in Your Drone Photography Editing
Key Performance Indicators for Visual Impact
Success in drone photography editing can be measured using specific performance indicators:
- Engagement Rates: Monitor likes, shares, and comments on your posts to gauge audience interest and interaction with your work.
- Follower Growth: An increase in followers is a sign that your work is being recognized and appreciated.
- Client Inquiries: Track how many inquiries you receive as a direct result of showcasing your work; more inquiries typically indicate a higher impact.
Gathering Feedback and Reviews on Your Work
Feedback is essential for continuous improvement:
- Client Feedback: After delivering work to clients, ask for their impressions and any suggestions for future projects.
- Peer Reviews: Participate in communities or forums where fellow photographers critique each other’s work for constructive feedback.
Adapting Based on Audience and Trends
Being responsive to audience feedback and emerging trends can set you apart as a drone photographer:
- Monitor Trends: Keep an eye on popular styles and techniques in drone photography to remain relevant.
- Adapt Your Techniques: Experiment with new editing styles based on current popular trends while ensuring they align with your unique vision.


